
Understanding Theodolite Calibration Fundamentals
Why Theodolite Calibration is Critical for Surveying Accuracy
Getting theodolites properly calibrated matters a lot when it comes to accurate survey work because this affects how trustworthy the final measurements actually are. When instruments aren't calibrated right, they produce errors that might cost money down the road, particularly on big construction or land development projects where small mistakes get magnified. Some studies point out that roughly one third of all survey errors come from bad calibration practices, which really shows why checking these instruments regularly makes good sense. Keeping things calibrated consistently helps maintain the integrity of measurements so every reading matches what's expected according to industry standards worldwide. Survey professionals who make time for regular calibration sessions tend to run into fewer problems during fieldwork, which means better outcomes for their projects overall and keeps their equipment performing reliably over time.
Key Components of Theodolites Requiring Calibration
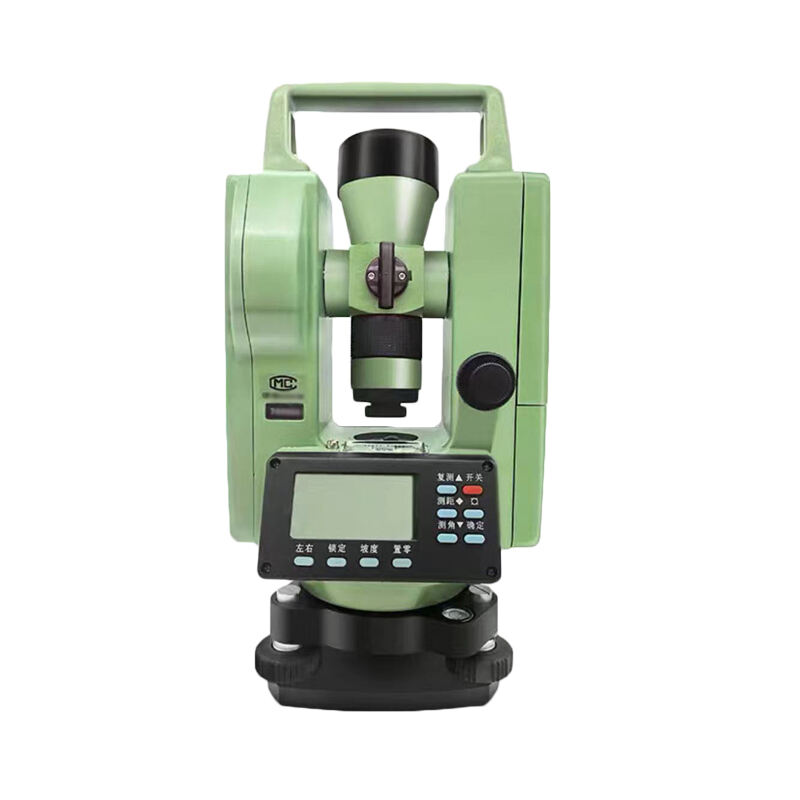
A good theodolite has several parts that need checking from time to time if we want accurate readings. Think about things like the telescope itself, those circular scales for measuring angles horizontally and vertically, plus the base plate where everything sits. When any of these get out of whack, our measurements start going off track too. The optical parts especially deserve attention since even small issues with the telescope lens can throw off readings over long distances. We've all been there when someone forgets to check these basics before heading out to a site. What happens? More stops mid-job to recalibrate, wasting precious hours and creating headaches for everyone involved. Keeping up with regular maintenance doesn't just save time in the long run; it actually extends how long these expensive tools stay useful while giving us trustworthy data every single day on the job.
Step-by-Step Theodolite Calibration Methods
Horizontal and Vertical Angle Adjustment Techniques
Getting those horizontal and vertical angles right when working with a theodolite takes some careful attention to detail if we want our measurements to be spot on. Start by placing the device somewhere flat where it won't wobble around. After making sure everything is level, point the instrument at something clearly visible about 50 meters out there and take note of what shows up on both the horizontal and vertical scales. Now turn that telescope upside down in the vertical direction and check again. The numbers for horizontal should jump exactly 180 degrees from before, while vertical readings need to match what was recorded initially. When things don't line up perfectly, tweak those collimation screws about half way between where they are now and where they need to be, then go through all these steps once more until everything clicks into place. Having good quality calibration equipment handy really helps with fine tuning, as does marking multiple reference spots around the area so we can cross verify our work regularly throughout the day.
Optical Plummet and Plate Level Calibration
Getting the optical plummet right makes all the difference when setting up a theodolite over a survey point. The plate level meanwhile helps establish that important horizontal reference we need for accurate readings. Start calibrating the optical plummet by placing the instrument over some fixed mark on solid ground. Look through the plummet and check if the mark looks centered in there. If it's off, tweak those adjustment screws until everything lines up properly. For the plate level part, put the theodolite somewhere stable where vibrations won't interfere. Check where the bubble sits in the level vial. Now give the whole thing a 180 degree turn. The bubble should come back close to where it started. If there's still some drift, adjust those leveling screws about half way toward correcting the error. Do this whole process again at right angles to cover all bases. After making these adjustments, run some test measurements in an area where we already know the exact coordinates. This double checks our work and catches any hidden issues before they become big problems later on.
Common Errors in Theodolite Calibration
Identifying Collimation and Axis Misalignment Issues
When working with theodolites, collimation problems and axis misalignment tend to pop up quite often, messing with measurement accuracy. Collimation basically happens when what we're looking at doesn't match up with where the instrument thinks it should be pointing, leading to all sorts of measurement errors. Spotting these issues usually requires some careful testing work in the field. Surveyors will often notice something's off when they get inconsistent angle readings even after repeating measurements several times. For axis misalignment, the main issue is when the theodolite isn't properly oriented. Field technicians can check for this by making sure targets stay aligned consistently between different setup positions. The process typically involves placing the instrument on solid ground first, then cross-checking against established reference markers around the site. Getting these things right from the start makes a huge difference in survey projects. Early detection means fewer headaches down the road and saves both time and money that would otherwise go into fixing mistakes later on.
Impact of Environmental Factors on Calibration Accuracy
The accuracy of calibration gets affected quite a bit by environmental conditions like temperature shifts and vibrations around the area. When temps go up or down, parts inside the theodolite actually expand or contract slightly, which creates tiny but noticeable errors in what we measure. Some field tests have shown that really hot days or freezing cold nights can throw off our readings pretty substantially. Then there's all those little shakes from construction machinery nearby or even passing trucks that mess with how steady the instrument sits. Over longer measurement runs, these combined issues might lead to differences of several millimeters between points. Good practice means finding spots where things stay relatively still when doing calibrations. Investing in some sort of shock absorbing platform helps too. And honestly, most experienced surveyors will tell anyone willing to listen that waiting until after a storm passes makes all the difference in getting reliable measurements.
Post-Calibration Maintenance Best Practices
Cleaning and Storage Guidelines for Theodolites
Keeping theodolites in good working order means regular cleaning so they last longer and work properly. The lenses need special care too. A good lens cleaner works best on those glass parts while a soft brush can sweep away any grime stuck on the moving sections. When storing these instruments, find somewhere dry where dust won't settle on them. Most surveyors swear by dedicated cases for protection against both moisture and dirt buildup over time. Look for cases built to handle bumps and jostles during transport. Nothing worse than arriving at a site only to discover the delicate internals got rattled loose because the case wasn't sturdy enough.
Scheduling Periodic Re-Calibration
Creating regular calibration schedules for theodolites helps keep measurements accurate over time. How often these checks happen really depends on how much the instrument gets used and what kind of environment it faces. Daily users generally need to recalibrate their instruments every couple of months at minimum. Those who store theirs away most of the time might get away with annual checks, though twice yearly isn't bad either. Most professional groups recommend checking calibration after incidents like dropping the device or leaving it in very hot or cold conditions. Surveyors usually follow the recommendations from their local regulatory bodies when setting up these maintenance routines.
Advanced Calibration Techniques for High-Precision Work
Dual-Target Alignment for Minimizing Centering Errors
The dual target alignment approach works really well for improving how accurate theodolites get calibrated, especially when trying to reduce those pesky centering errors. What happens here is pretty straightforward - we line up two different targets at once so everything stays properly aligned optically. When picking these targets, go for ones that are quite far apart since longer sight lines make things easier to align correctly. Place the instrument somewhere solid and then spend some time adjusting until both targets appear sharp in the viewfinder. Speaking from experience, checking what professionals recommend about new tech developments makes a big difference too. Many modern systems now come equipped with super sharp lenses that take accuracy to another level entirely. For anyone doing serious surveying jobs where precision matters most, this kind of setup delivers results that stand up under scrutiny.
Using Digital Tools to Enhance Calibration Efficiency
Digital tools and software have really changed the game for calibration work over the past few years. Surveyors now rely heavily on gadgets like electronic levels and laser alignment programs that let them tweak measurements down to the smallest detail. Take Trimble Access and those Leica systems for example they're not just fancy toys but actual workhorses that keep calibration consistent across projects. We've seen this firsthand in our own field operations where teams report cutting down setup time by almost half while still getting better results. The bottom line is simple: when surveyors get their hands on good digital calibration gear, they finish jobs faster and hit those tough precision targets without sacrificing quality standards.
Validating Calibration Accuracy
Field Testing Methods for Verified Measurements
Getting accurate calibration means putting theodolites through proper field tests, something that matters a lot for their overall precision work. Most folks in the trade will tell you it involves setting up at known control points and taking reference measurements against established benchmarks. The best time to run these checks is usually during calm weather with minimal wind disturbance since environmental factors can throw off readings pretty easily. When done right, this process catches those small errors or alignment issues before they become bigger problems down the line, which keeps survey data reliable across all kinds of projects from construction sites to land mapping efforts.
Interpreting Data to Confirm Calibration Success
Looking at data after calibration helps determine if everything went right and whether measurements will be trustworthy going forward. When surveyors go through their collected data, they spot mistakes or inconsistencies that might have slipped past during setup, which tells them how good the calibration really was. Field technicians know time matters when working on site, so being able to quickly understand what numbers mean makes all the difference between getting work done efficiently or wasting precious hours. What comes out of this detailed checking often leads to tweaks in how equipment gets calibrated next time around. These improvements keep theodolites performing reliably year after year even under tough outdoor conditions where precision counts most.
Frequently Asked Questions (FAQs)
How often should theodolite calibration be performed?
Theodolite calibration frequency depends on usage, typically every few months for frequently used equipment, and annually for less used theodolites. It should also be checked following drops or exposure to extreme temperatures.
What are the most common errors found in theodolite calibration?
Common errors include collimation issues, axis misalignment, and effects from environmental factors such as temperature and vibration.
Why is dual-target alignment important in calibration?
Dual-target alignment helps minimize centering errors and ensures accurate optical settings, which is crucial for high-precision work.